How to Create a Modern Landing Page with Elementor Pro
In this tutorial, you’ll learn how to build a complete landing page in Elementor Pro — from hosting and setup to design, animations, and email integrations. The video at the top of this page walks you through the full process step by step, but here you’ll find a condensed written guide to help you follow along easily.
Whether you’re creating your own lead generation funnel or building landing pages for clients, this Elementor landing page tutorial will show you how to achieve a professional, high-converting result — no coding required.
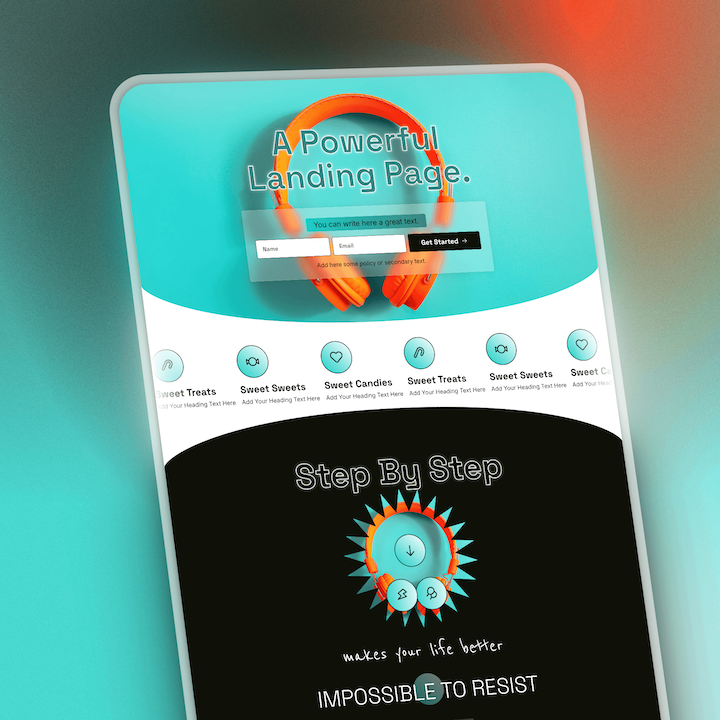
Below you have two examples of the landing page we will create during the tutorial, you can also see a live example on my newsletter signup page.

Step 1 — Choose Hosting and Install WordPress
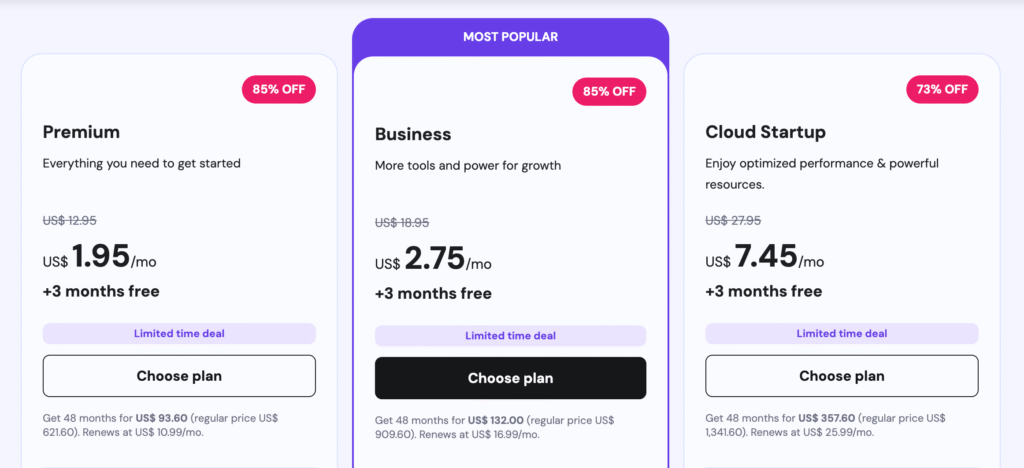
The first step is to set up your hosting and domain. In the video, I use Hostinger — one of the best WordPress hosts for performance, security, and value.
You can start with the Premium plan, which includes a free domain for the first year and built-in daily backups if you choose the Business tier. Once you’ve purchased your plan, install WordPress directly from your Hostinger dashboard in just a few clicks.
After installation, log in to your WordPress dashboard, clean up unnecessary plugins, and set your permalink structure to “Post name.” You now have a clean, optimized foundation for your landing page.
Step 2 — Install and Activate Elementor Pro
Next, install Elementor Free and Elementor Pro. You can get your license at WP Roads Tools, where I also list my favorite plugins and resources.
Once Elementor Pro is active, install the Hello Elementor theme — it’s lightweight, fast, and built to work seamlessly with Elementor.
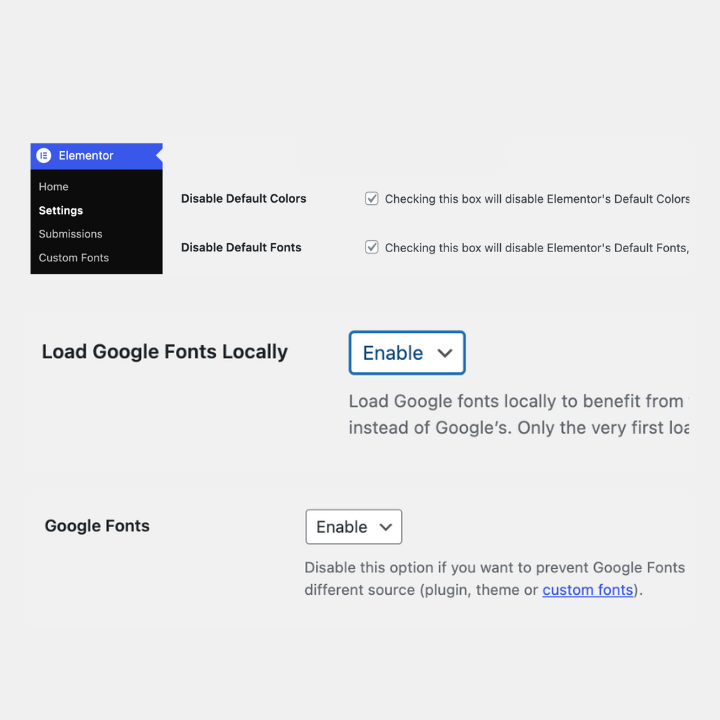
Then, in your Elementor settings, make sure to:
- Disable default colors and fonts (so you have full design control).
- Enable Google Fonts and local loading for better performance and GDPR compliance.
You’re now ready to start designing.
Step 3 — Create a Blank Canvas Page
From your WordPress dashboard, create a new page called Landing Page.
In the page settings, switch the template to Elementor Canvas to remove headers and footers. This gives you a completely clean starting point — perfect for a dedicated landing page that focuses on conversions.
Step 4 — Structure the Page
We’ll build the layout using Elementor containers for better flexibility and performance. The main sections include:
- Hero Section — with headline, subheadline, and opt-in form.
- Marquee or Brand Scroller — a dynamic animated section with logos or icons.
- Call-to-Action Section (CTA 1) — a bold, animated statement with icons and motion.
- Features Section — using a grid layout to showcase benefits or product highlights.
- Benefits Section — smaller cards with icons and brief text.
- Final Call to Action (CTA 2) — a clear button to encourage conversions.
This structure follows proven marketing best practices for landing pages — keeping visitors focused on a single goal.

Step 5 — Design the Hero Section
Start by adding your headline (H1) and a short supporting paragraph. Below that, add your Elementor Pro Form widget with fields for name and email.
Then, style your section with:
- A background image that fits your brand or offer.
- Centered alignment and consistent spacing.
- A minimum height of 100vh to create a full-screen hero layout.
To make your design modern and lively, you can apply the glassmorphism effect and other advanced styles using the free copy-and-paste snippets provided in the tutorial.
👉 You can download all the CSS and JS snippets (for effects like glassmorphism, marquee, glow buttons, and highlight animations) from the free resources page here.
Step 6 — Apply Styling and Global Variables
To keep your design consistent, you can define global CSS variables for colors, radius, and other style properties.
Example:
:root {
  --wpr-global-radius: 35px;
}
You can then apply this variable to buttons, containers, and input fields across your page, ensuring a cohesive, professional look.
If you want to learn more about setting up global colors, typography, and spacing, check out my guide on How to Create a Design System in Elementor Pro.
Step 7 — Add Animations and Scroll Effects
To bring your landing page to life, Elementor Pro makes it easy to add motion and scrolling effects:
- Entrance animations for sections and headlines.
- Parallax backgrounds for depth.
- Marquee scrolling text or icons to create dynamic visual flow.
All these effects can be added using Elementor’s built-in tools or with the ready-to-use snippets from the free resource pack.
You can also apply highlight background animations that trigger on page load and subtle glow effects on buttons to draw attention to your call-to-action.
Step 8 — Optimize for Mobile
Once your desktop design looks great, switch to Tablet and Mobile view in Elementor.
- Adjust font sizes and spacing.
- Hide or rearrange elements if needed.
- Test all animations and forms to ensure smooth performance on smaller screens.
This step ensures your landing page is responsive, fast, and accessible — a must for conversions and SEO.
Step 9 — Create the Custom Thank-You Page
When a user submits the form, they’ll be redirected to a custom thank-you page.
In this tutorial, the thank-you page includes a short animated message and a fun confetti effect — all created with simple CSS and JavaScript snippets available on the free resource page.
A personalized confirmation page like this helps reinforce your brand and gives users a satisfying experience after signing up.

Step 10 — Connect and Store Your Leads
The Elementor Pro Form widget lets you:
- Send automatic notifications to your email,
- Store leads in your WordPress database, and
- Integrate with any email marketing platform through webhooks or integrations.
You can later connect your form to your favorite platform (Omnisend, MailerLite, or any other) to automate welcome emails, lead nurturing, or follow-up sequences — turning your landing page into a simple yet effective Elementor funnel builder.
Bonus — Track Performance with AnalyticsWP
If you want to track how your landing page performs, I highly recommend AnalyticsWP, the sponsor of this tutorial.
It’s a WordPress-native analytics plugin that gives you real-time data directly inside your dashboard — no Google Analytics setup needed. You can track form submissions, conversions, and visitor behavior right within Elementor.
AnalyticsWP is lightweight, privacy-friendly, and offers a 7-day free trial (no credit card required). You can find it on my WP Roads Tools page.
Step 11 — Final Touches and Launch
Preview your page across all devices, check load times, and make sure your CTAs and forms work perfectly. Once you’re satisfied, hit Publish and share your new landing page with the world.
Remember, the key to a high-converting landing page is clarity, speed, and visual consistency. Elementor Pro makes it possible to achieve all three — fast.
If you want to master the entire process of building websites and landing pages with Elementor Pro, check out my full guide on How to Create a Website with WordPress and Elementor Pro.
Get All the Free Resources
To follow this tutorial more easily, download the free resource pack that includes:
- Code snippets for all animations and effects,
- Templates and design assets,
- Links to all tools used in the video.
👉 Access the free Elementor Landing Page Resources here.
This concludes our Elementor landing page tutorial — a complete guide to creating a modern, responsive, and high-converting landing page using Elementor Pro.
No code, no complexity — just clean design, smart structure, and professional results.

")